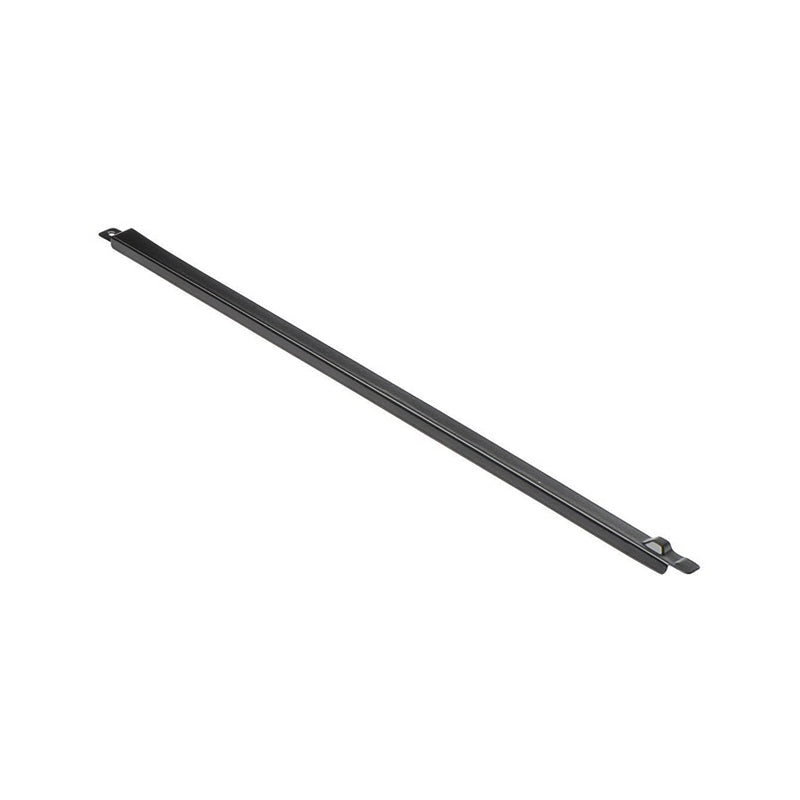
Description
Assembling the Rall Slide Track is a straightforward process, but it's essential to follow the provided instructions carefully to ensure proper installation. Below are the general steps for assembly:
1. **Gather Your Tools:** Before you begin, make sure you have all the necessary tools and components required for assembly. Check the instruction manual for a list of required tools and ensure you have them on hand.
2. **Identify Parts:** Lay out all the components and familiarize yourself with them. Typically, there will be slide tracks, brackets, screws, and other hardware included in the assembly kit.
3. **Position the Slide Tracks:** Determine where you want to install the Rall Slide Track. Ensure it's the correct size for your application. Position the slide tracks in the desired location, making sure they are level and properly aligned.
4. **Attach Brackets:** Depending on the specific design of the slide track, you may need to attach brackets to the wall or other supporting structure. Use the provided screws and follow the instructions to secure the brackets in place.
5. **Attach Slide Tracks to Brackets:** Once the brackets are in position, attach the slide tracks to them. This may involve sliding the tracks into the brackets or using screws to secure them, depending on the design.
6. **Check Alignment:** Double-check the alignment of the slide tracks to ensure they are level and properly positioned. Make any necessary adjustments at this stage.
7. **Test Functionality:** Carefully test the functionality of the slide tracks to ensure they move smoothly and without obstructions. Ensure that any locking or latching mechanisms work as intended.
8. **Secure All Hardware:** Once you are satisfied with the installation and functionality, make sure all screws and fasteners are securely tightened to prevent any wobbling or instability.
9. **Follow Manufacturer's Instructions:** Be sure to follow any specific instructions provided by the manufacturer for your particular Rall Slide Track model. These instructions may vary depending on the brand and design.
10. **Safety Precautions:** Always prioritize safety during assembly. If the installation involves heavy or potentially hazardous items, consider having someone assist you, and use appropriate safety gear.
It's essential to refer to the specific assembly instructions provided with your Rall Slide Track, as different models and brands may have variations in the installation process. If you have any doubts or encounter difficulties during assembly, consult the manufacturer's customer support or seek professional assistance.


