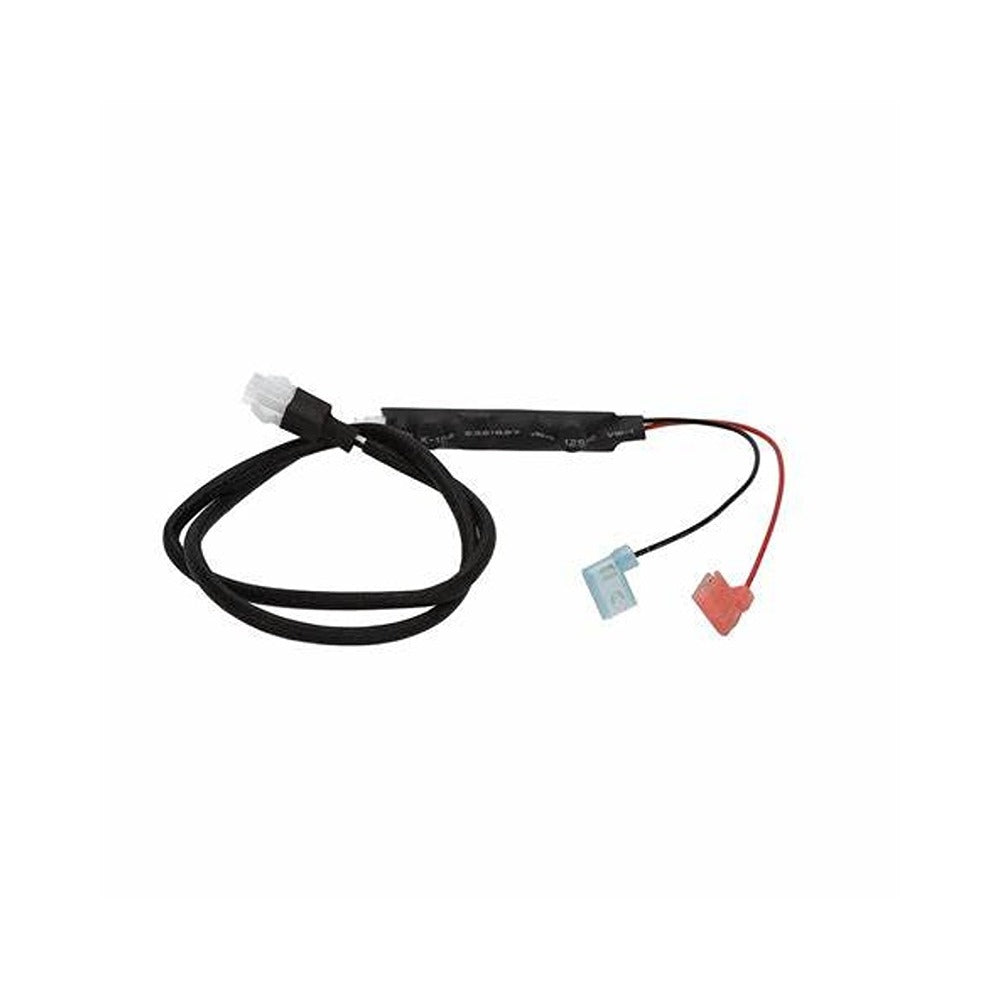
Description
Assembling the Igniter Wire Assembly for Napoleon PRO 500-1
The Igniter Wire Assembly is a critical component in the ignition system of your Napoleon PRO 500-1 grill. It plays a key role in lighting the burners and getting your grill ready for cooking. Here are the general steps for assembling and installing the Igniter Wire Assembly:
**Please note:** This is a general guide, and specific assembly instructions may vary depending on your grill model. Always refer to the manufacturer's provided assembly manual for the most accurate and detailed instructions for your grill.
**What You'll Need:**
- Igniter Wire Assembly (included with your grill or purchased separately)
- Necessary hardware and tools (screws, bolts, screwdriver, wrench, etc.)
**Step-by-Step Assembly:**
1. **Prepare your workspace:** Set up a clean and flat surface where you can safely assemble your grill and install the Igniter Wire Assembly.
2. **Unbox the Igniter Wire Assembly:** Carefully unpack the Igniter Wire Assembly and inspect it for any visible damage or missing parts. Ensure that you have all the necessary components.
3. **Identify the attachment points:** Locate the specific attachment points on your Napoleon PRO 500-1 grill where the Igniter Wire Assembly will be installed. These attachment points are typically located within the control panel or ignition system area.
4. **Attach the Igniter Wire Assembly:** Carefully attach the Igniter Wire Assembly to the designated attachment points on your grill. Follow the manufacturer's instructions for the correct positioning and securing of the assembly.
5. **Connect the wiring:** The Igniter Wire Assembly will have wires that need to be properly connected to the corresponding terminals or connectors within the grill's ignition system. Ensure that all wire connections are secure and properly routed according to the manufacturer's instructions.
6. **Secure with hardware:** Use the provided hardware (screws, bolts, etc.) and the appropriate tools (screwdriver, wrench) to secure the Igniter Wire Assembly in place. Follow the manufacturer's instructions for the specific hardware and attachment method required.
7. **Double-check connections:** Carefully double-check all wire connections and ensure that they are properly seated and secure. Any loose or incorrectly connected wires can affect the grill's functionality.
8. **Test the ignition system:** Once the Igniter Wire Assembly is securely installed and wired, test the grill's ignition system to ensure that it functions correctly. Follow the manufacturer's instructions for operating the grill's ignition system.
9. **Complete assembly:** If you have other components or accessories to install on your grill, follow the manufacturer's instructions to complete the assembly.
10. **Final inspection:** Before using your grill, conduct a final inspection of the Igniter Wire Assembly and all connections to ensure everything is secure and in proper working order.
Always follow safety guidelines and the manufacturer's instructions when assembling and installing grill components to ensure a safe and enjoyable grilling experience.


